Step-by-Step Guide for Integrating ProxyJet Proxies in Multilogin
What is Multilogin?
Multilogin is an advanced browser management tool designed to help users manage multiple online identities and accounts securely. It allows the creation of distinct browser profiles, each with unique cookies, browser fingerprints, and other identifying information. This functionality is essential for activities such as social media management, web scraping, ad verification, and digital marketing where maintaining anonymity and avoiding detection is crucial.
Use Case for ProxyJet Integration:
Integrating ProxyJet with Multilogin enables users to leverage high-quality residential and ISP proxies. This enhances online anonymity, reduces the risk of account bans, and ensures efficient management of multiple online profiles, making it ideal for businesses involved in data collection, market research, and competitive analysis.
Generating Proxy in ProxyJet Dashboard
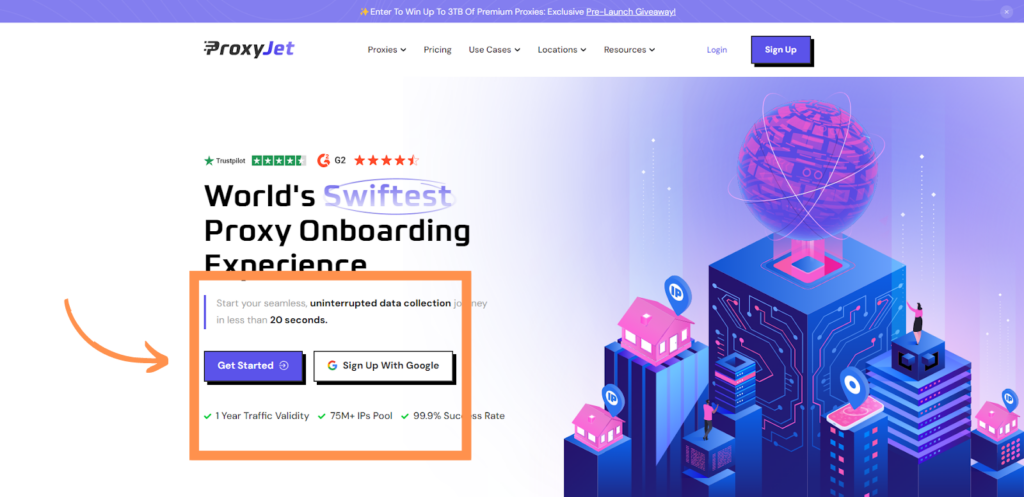
- Sign Up: Go to ProxyJet and click on "Sign Up" or "Sign Up with Google".
2. Create Account: If you don't use Google sign-up, please make sure you verify your email.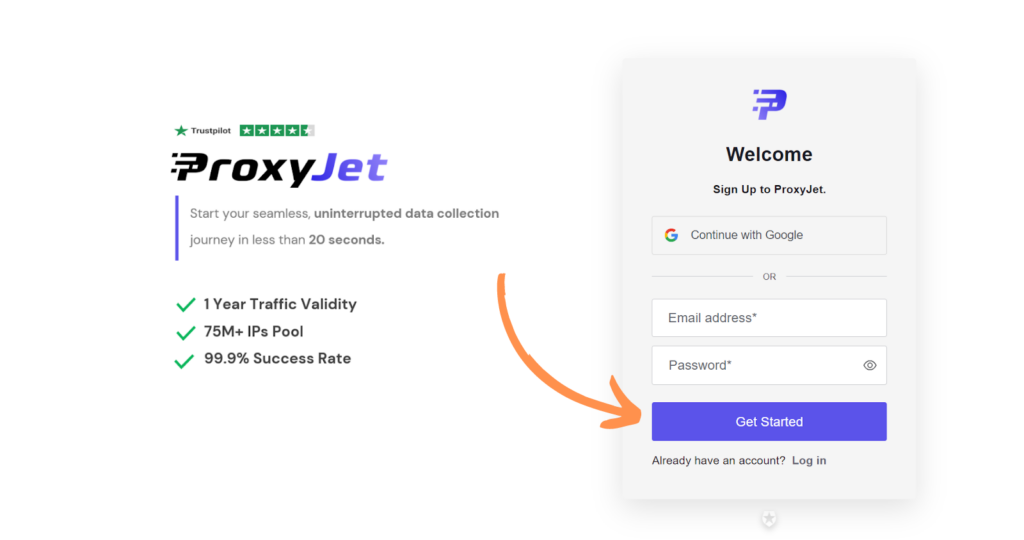
3. Complete Profile: Fill in your profile details.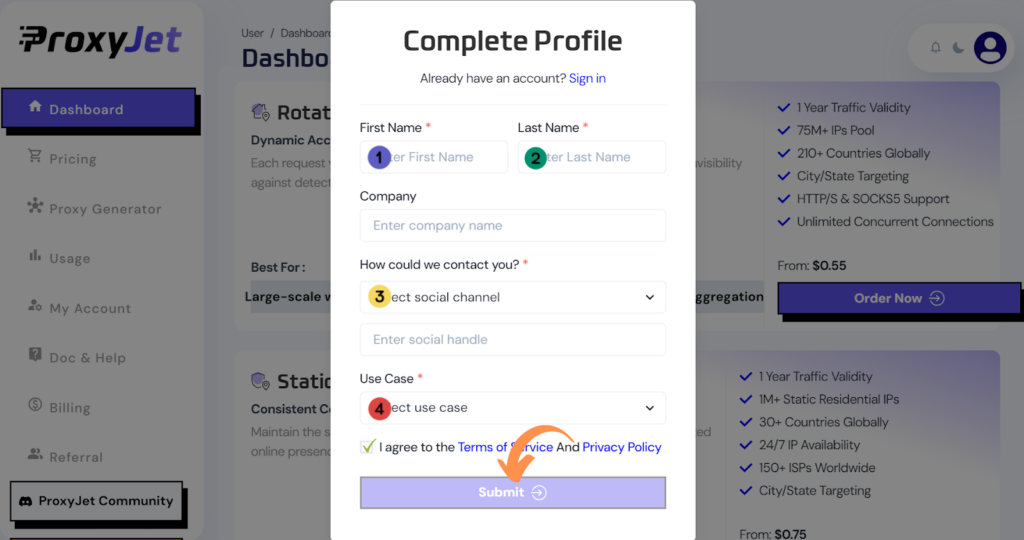
4. Pick a Proxy Type: Choose the type of proxy you need and click "Order Now".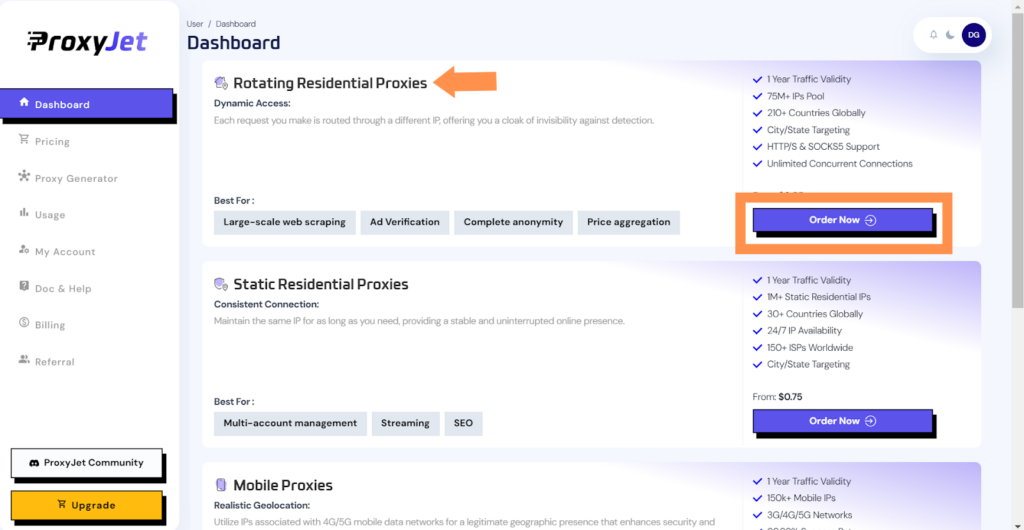
5. Pick Your Bandwidth: Select the bandwidth you need and click "Buy".
6. Complete the Payment: Proceed with the payment process.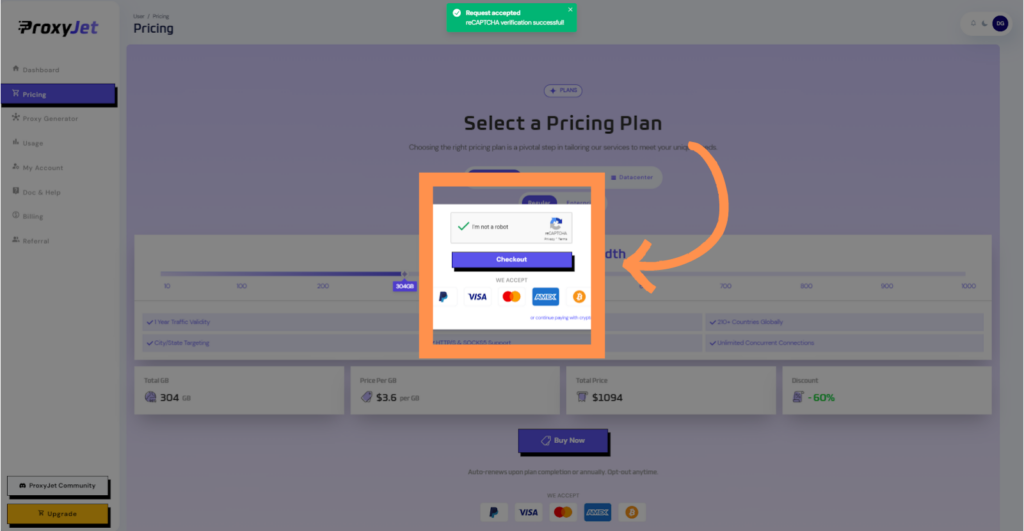
7. Access the Dashboard: After payment, you will be redirected to the main dashboard where you will see your active plan. Click on "Proxy Generator".
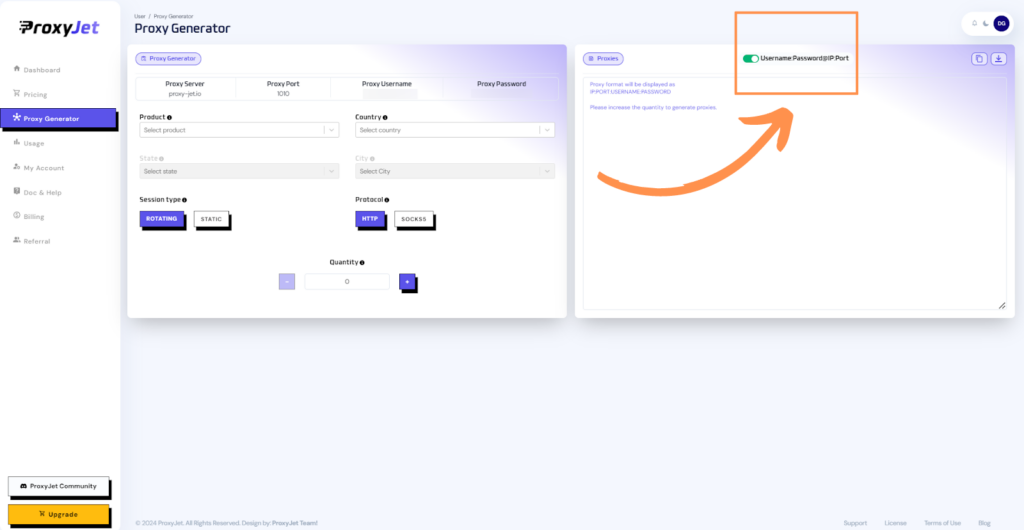
8. Switch Proxy Format: Click the toggle on the right top side of the screen that switches the proxy format to Username:Password@IP:Port.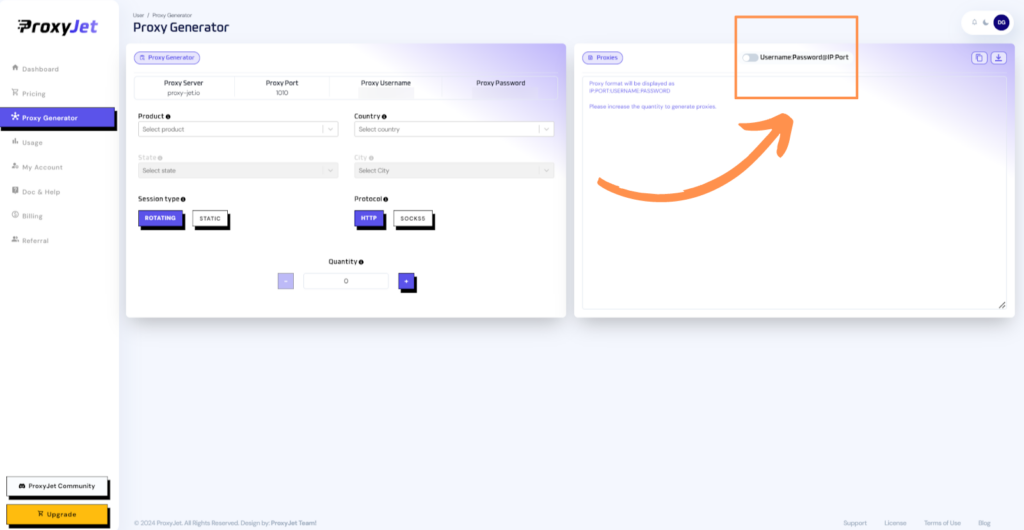
9. Generate Proxy String: Select the proxy properties you need and click on the "+" button to generate the proxy string. You will get a string that looks something like this:
10. Great Job!: You have successfully generated your proxy!
Step-by-Step Guide for Integrating ProxyJet Proxies in Multilogin
Step 1: Download and Install Multilogin
- Download Multilogin: Visit Multilogin and download the application suitable for your operating system.

- Install: Follow the on-screen instructions to install Multilogin.
- Launch: Open Multilogin after installation and log in with your credentials.
Step 2: Configure Proxy Settings
- Create a New Profile:
- Click on “New Browser Profile”.

- Click on “New Browser Profile”.
- Enter a name for the browser profile, choose the operating system, and select the browser.
- Add Proxy Details:
- Click on “Edit proxy settings”.

- Choose the proxy type (HTTP, HTTPS, or SOCKS5).

- Enter the ProxyJet proxy details:

- Proxy Host: proxy-jet.io
- Proxy Port: 1010 for HTTP/HTTPS or 2020 for SOCKS5.
- Proxy User: A1B2C3D4E5-resi_region-US_Arizona_Phoenix
- Proxy Password: F6G7H8I9J0
- Click "Check Proxy" to verify the connection. A confirmation message should appear if successful.

- Save Profile Settings:
- Fill in other necessary profile settings such as time zone, screen resolution, and language.
- Click “Create profile” to save the profile settings.
Step 3: Validate Proxy Functionality
- Open a New Tab:
- Start the profile and open a new browser tab.
- Check IP Address:
- Visit a site like browserleaks.com/ip to confirm that the proxy is active and the IP address has changed.
Conclusion
By following these steps, you can integrate ProxyJet proxies with Multilogin to enhance your online anonymity and manage multiple accounts efficiently. This integration ensures that your browsing sessions remain secure and private, leveraging the powerful capabilities of Multilogin combined with the high-quality proxies provided by ProxyJet.
Related Articles
Step-by-Step Guide for Integrating ProxyJet Proxies in Firefox
What is Firefox? Firefox is a widely-used web browser that prioritizes privacy, security, and customization. It supports a variety of extensions and configurations, making it an excellent choice for users who want to tailor their browsing experience. ...Step-by-Step Guide for Integrating ProxyJet Proxies in Safari
What is Safari? Safari is Apple's web browser, known for its speed, efficiency, and strong privacy features. Optimized for macOS and iOS devices, Safari offers a seamless browsing experience with advanced privacy protections like Intelligent Tracking ...Step-by-Step Guide for Integrating ProxyJet Proxies in Apify
What is Apify? Apify is a versatile web scraping and automation platform that allows you to extract data from websites efficiently. It supports various tools and integrations, making it a powerful solution for developers and businesses needing to ...Step-by-Step Guide for Integrating ProxyJet Proxies in Octoparse
What is Octoparse? Octoparse is a powerful web scraping tool that provides a visual interface for users to extract data from websites without any coding knowledge. It offers features such as cloud-based data extraction, IP rotation, and anti-blocking ...Step-by-Step Guide for Integrating ProxyJet Proxies in Hidemium
What is Hidemium? Hidemium is an advanced anti-detect browser designed for managing multiple online identities or accounts simultaneously. It creates virtual browser environments, enabling users to avoid detection and bypass restrictions that ...