Step-by-Step Guide for Integrating ProxyJet Proxies in Puppeteer
What is Puppeteer?
Puppeteer is a Node.js library that provides a high-level API for controlling headless Chrome or Chromium browsers. It is widely used for web scraping, automating web tasks, and testing web applications. Puppeteer allows developers to programmatically navigate web pages, capture screenshots, extract data, and more.
Use Case for ProxyJet Integration
Integrating ProxyJet with Puppeteer allows you to route your HTTP requests through high-quality residential and ISP proxies. This ensures greater anonymity, helps bypass geo-restrictions, and prevents IP bans when performing tasks like web scraping or accessing region-locked content.
Generating Proxy in ProxyJet Dashboard
1. Sign Up: Go to ProxyJet and click on "Sign Up" or "Sign Up with Google".
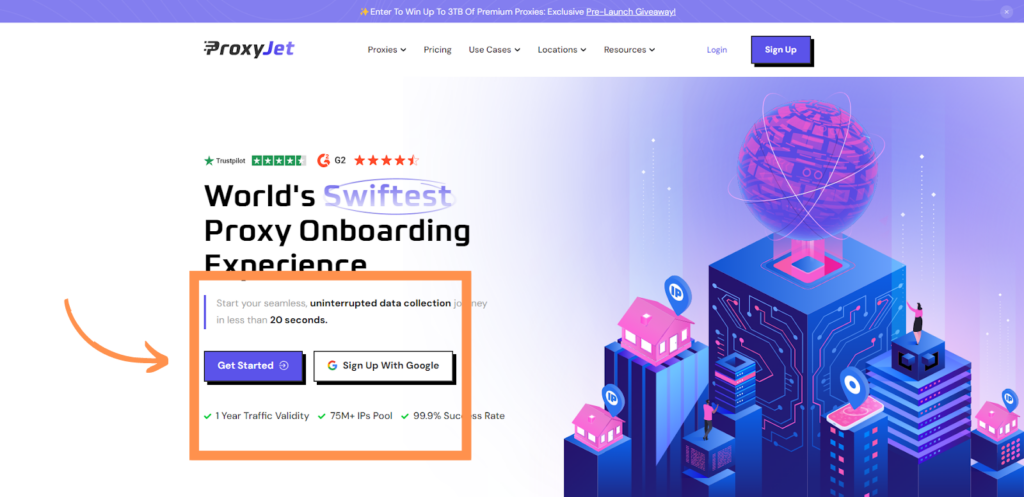
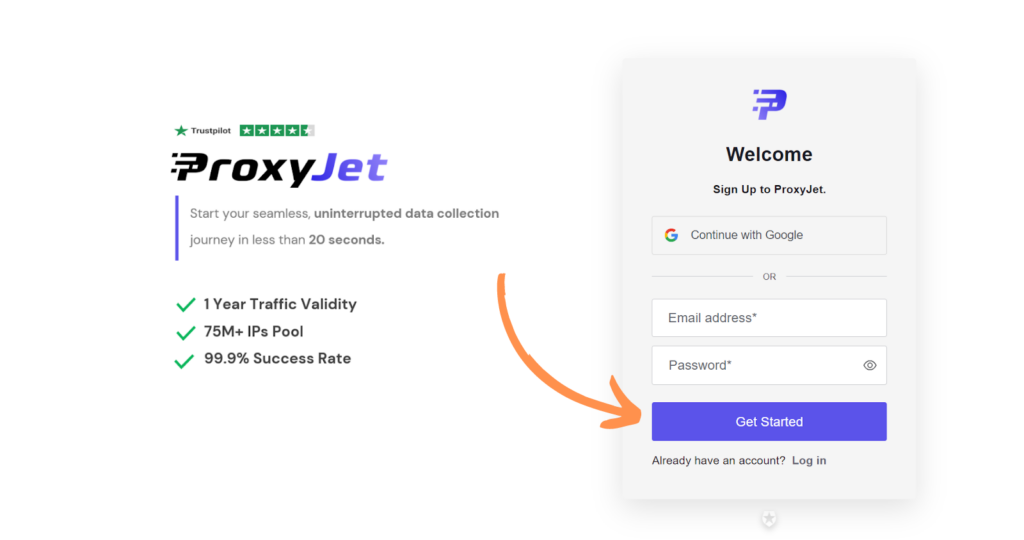
2. Create Account: If you don't use Google sign-up, please make sure you verify your email.
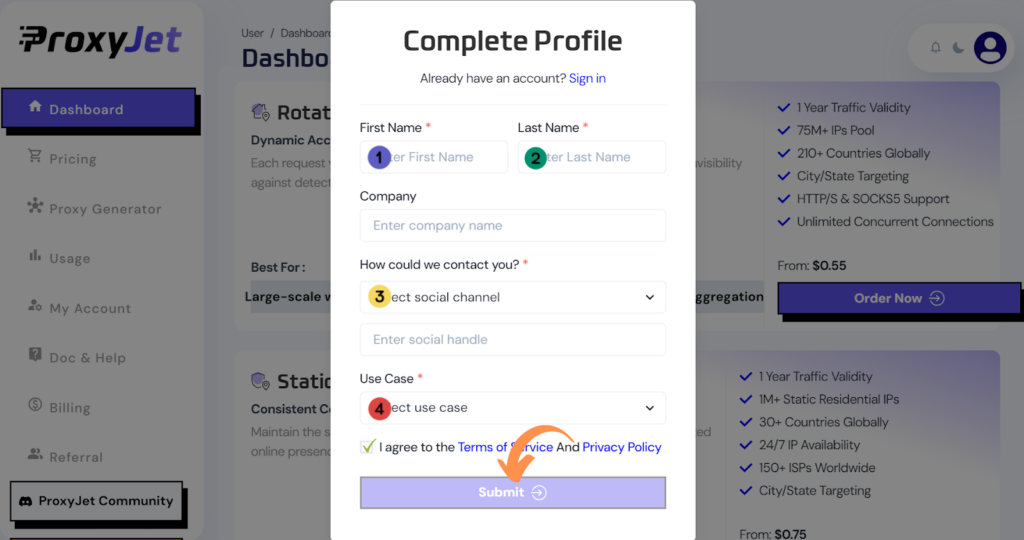
3. Complete Profile: Fill in your profile details.
4. Pick a Proxy Type: Choose the type of proxy you need and click "Order Now".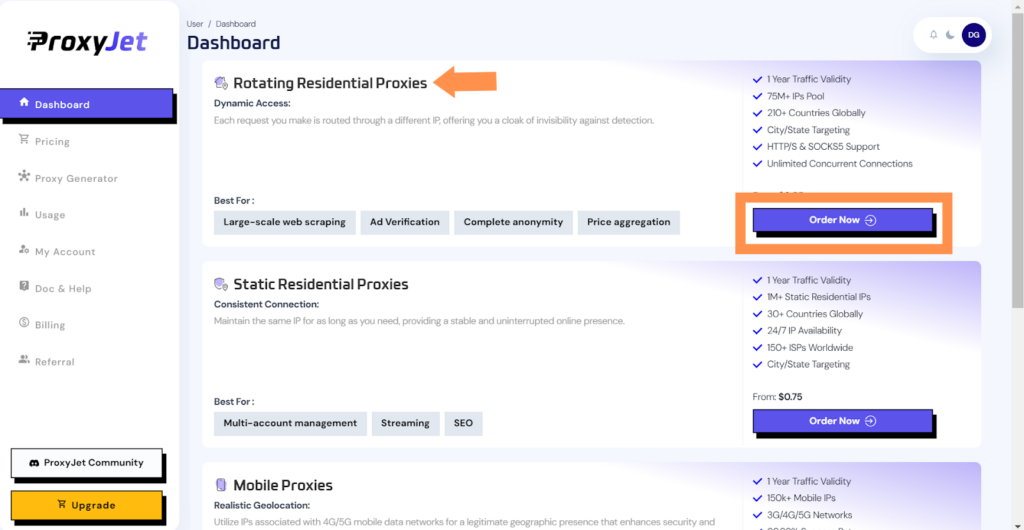
5. Pick Your Bandwidth: Select the bandwidth you need and click "Buy".
6. Complete the Payment: Proceed with the payment process.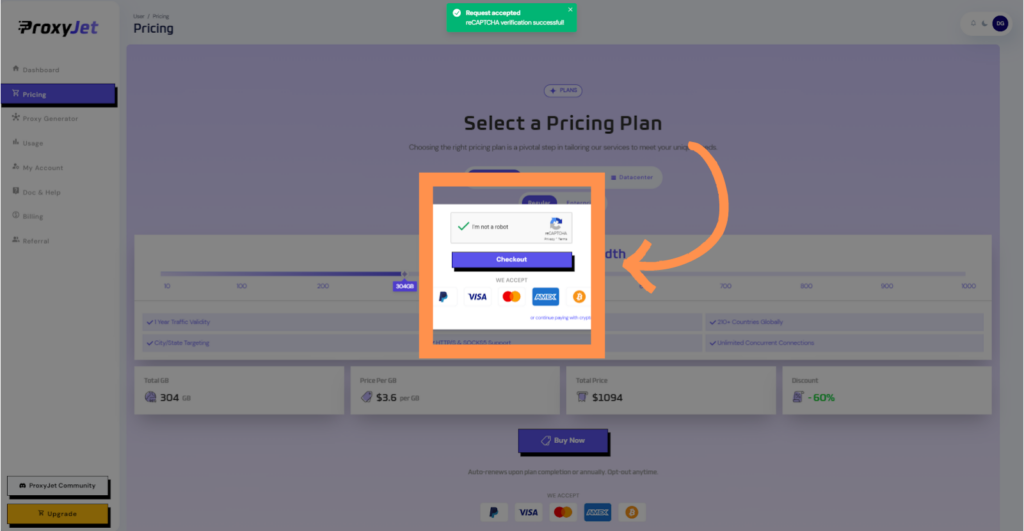
7. Access the Dashboard: After payment, you will be redirected to the main dashboard where you will see your active plan. Click on "Proxy Generator".
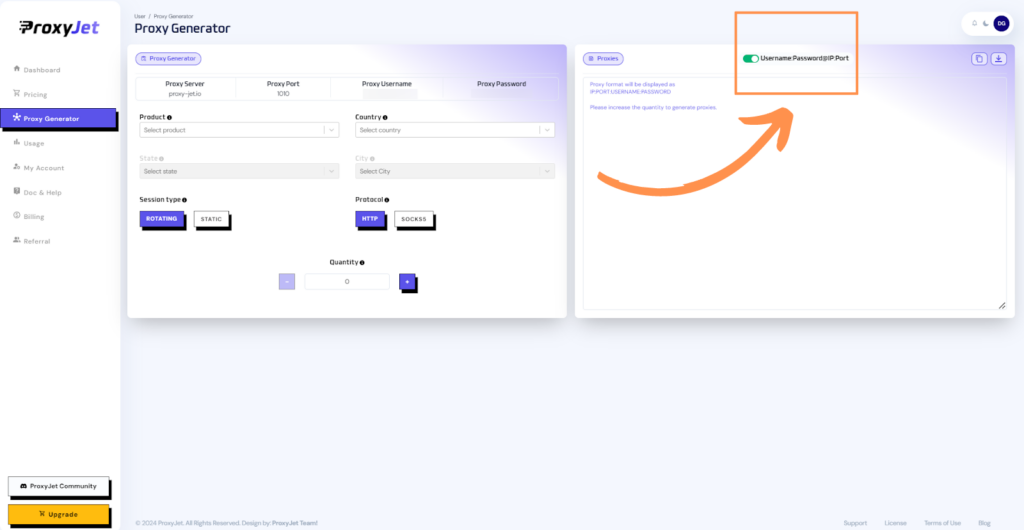
8. Switch Proxy Format: Click the toggle on the right top side of the screen that switches the proxy format to Username:Password@IP:Port.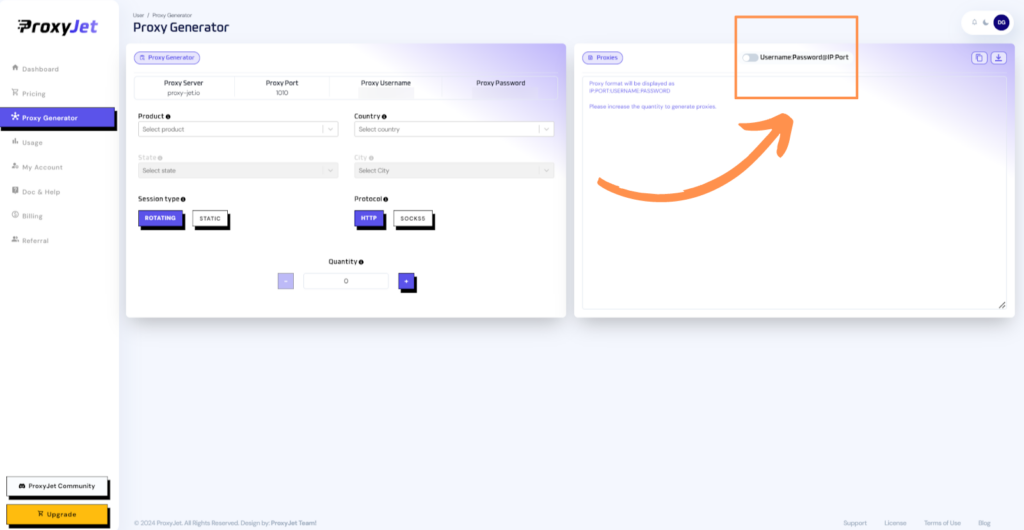
9. Generate Proxy String: Select the proxy properties you need and click on the "+" button to generate the proxy string. You will get a string that looks something like this:

10. Great Job!: You have successfully generated your proxy!
Setting Up ProxyJet Proxies in Puppeteer
Step 1: Install Puppeteer
First, ensure you have Node.js installed. Use npm to install Puppeteer in your project:
npm install puppeteerStep 2: Integrate Proxies with Puppeteer
Create a new JavaScript file and include the Puppeteer package:
const puppeteer = require('puppeteer');

(async () => {
    const browser = await puppeteer.launch({
        args: [
            '--proxy-server=proxy-jet.io:1010'
        ]
    });

    const page = await browser.newPage();
    await page.authenticate({
        username: 'A1B2C3D4E5-resi_region-US_Arizona_Phoenix',
        password: 'F6G7H8I9J0'
    });
    await page.goto('https://www.whatismyip.com/');
    console.log(await page.content());

    await browser.close();
})();
Step 3: Implement Proxy Rotation
For tasks requiring multiple proxies, you can implement proxy rotation:
const puppeteer = require('puppeteer');
const proxyChain = require('proxy-chain');

(async () => {
    const proxyUrl = 'http://A1B2C3D4E5-resi_region-US_Arizona_Phoenix:F6G7H8I9J0@proxy-jet.io:1010';
    const anonymizedProxy = await proxyChain.anonymizeProxy(proxyUrl);

    const browser = await puppeteer.launch({
        args: [`--proxy-server=${anonymizedProxy}`]
    });

    const page = await browser.newPage();
    await page.goto('https://www.whatismyip.com/');
    console.log(await page.content());

    await browser.close();
    await proxyChain.closeAnonymizedProxy(anonymizedProxy, true);
})();
Conclusion
By following these steps, you can integrate ProxyJet proxies with Puppeteer to enhance your online anonymity and manage multiple accounts efficiently. This setup ensures that your HTTP requests are routed securely through ProxyJet’s high-quality proxies, making your data extraction tasks more reliable and less prone to blocking
Related Articles
Step-by-Step Guide On How To Build a Web Scraper with ProxyJet
What is a Web Scraper? A web scraper is a software tool that automates the process of extracting data from websites. It systematically browses web pages, collects the desired information, and saves it for analysis or other uses. Web scrapers are ...Step-by-Step Guide for Integrating ProxyJet Proxies in Multilogin
What is Multilogin? Multilogin is an advanced browser management tool designed to help users manage multiple online identities and accounts securely. It allows the creation of distinct browser profiles, each with unique cookies, browser fingerprints, ...Step-by-Step Guide for Integrating ProxyJet Proxies in Firefox
What is Firefox? Firefox is a widely-used web browser that prioritizes privacy, security, and customization. It supports a variety of extensions and configurations, making it an excellent choice for users who want to tailor their browsing experience. ...Step-by-Step Guide for Integrating ProxyJet Proxies in Safari
What is Safari? Safari is Apple's web browser, known for its speed, efficiency, and strong privacy features. Optimized for macOS and iOS devices, Safari offers a seamless browsing experience with advanced privacy protections like Intelligent Tracking ...Step-by-Step Guide for Integrating ProxyJet Proxies in Apify
What is Apify? Apify is a versatile web scraping and automation platform that allows you to extract data from websites efficiently. It supports various tools and integrations, making it a powerful solution for developers and businesses needing to ...