Step-by-Step Guide for Integrating ProxyJet Proxies in AdsPower
What is AdsPower?
AdsPower is a powerful anti-detect browser designed for managing multiple online identities and accounts. It allows users to create distinct browser profiles with unique cookies, browser fingerprints, and other identifying information, making it ideal for activities such as web scraping, ad verification, and managing multiple social media accounts securely and anonymously.
Use Case for ProxyJet Integration
Integrating ProxyJet with AdsPower allows users to leverage high-quality residential and ISP proxies, enhancing online anonymity and avoiding detection, which is essential for managing multiple accounts efficiently.
Generating Proxy in ProxyJet Dashboard
- Sign Up: Go to ProxyJet and click on "Sign Up" or "Sign Up with Google".
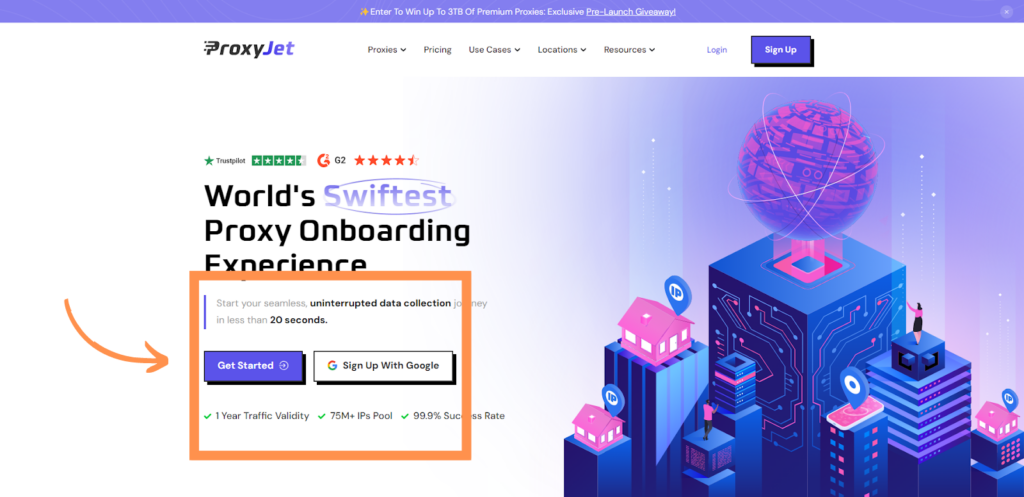
2. Create Account: If you don't use Google sign-up, please make sure you verify your email.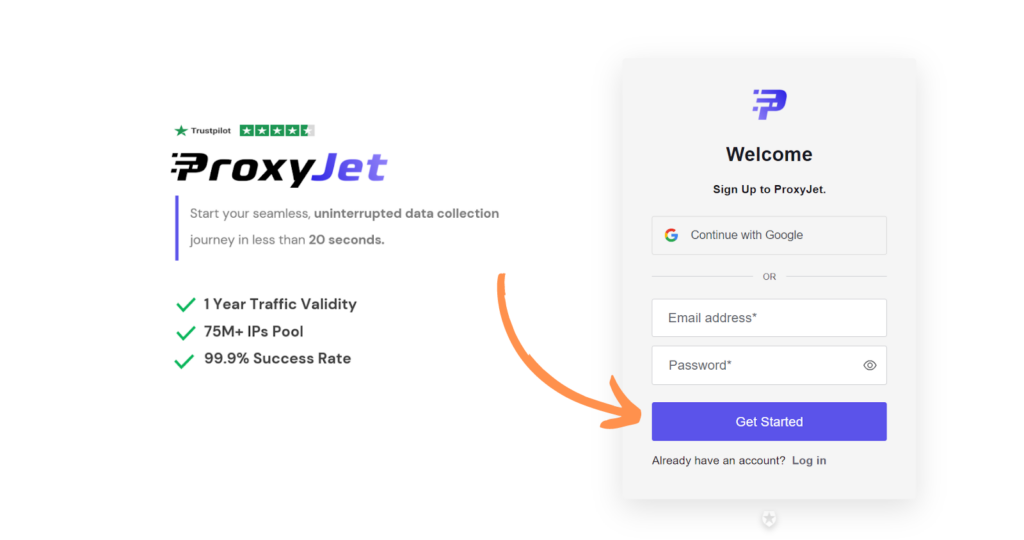
3. Complete Profile: Fill in your profile details.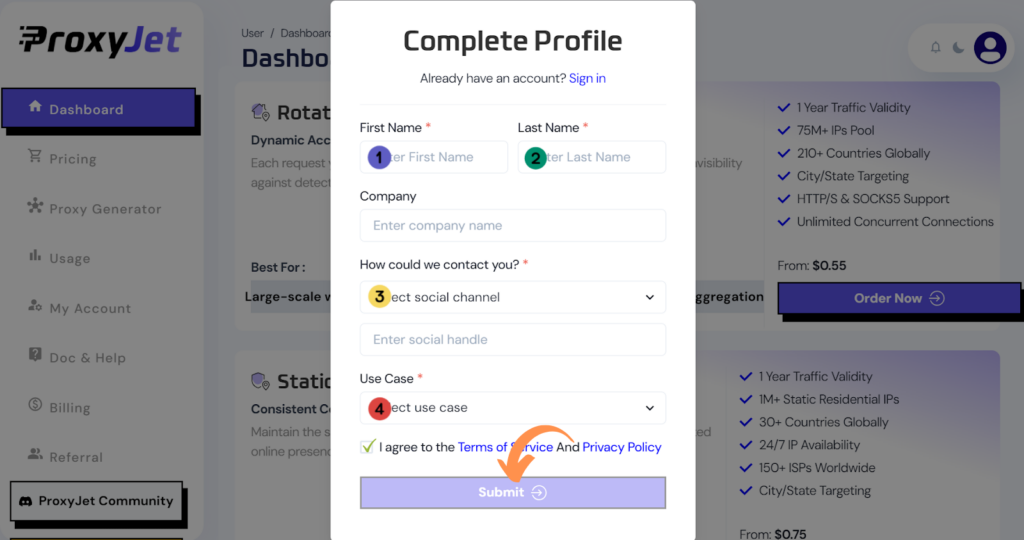
4. Pick a Proxy Type: Choose the type of proxy you need and click "Order Now".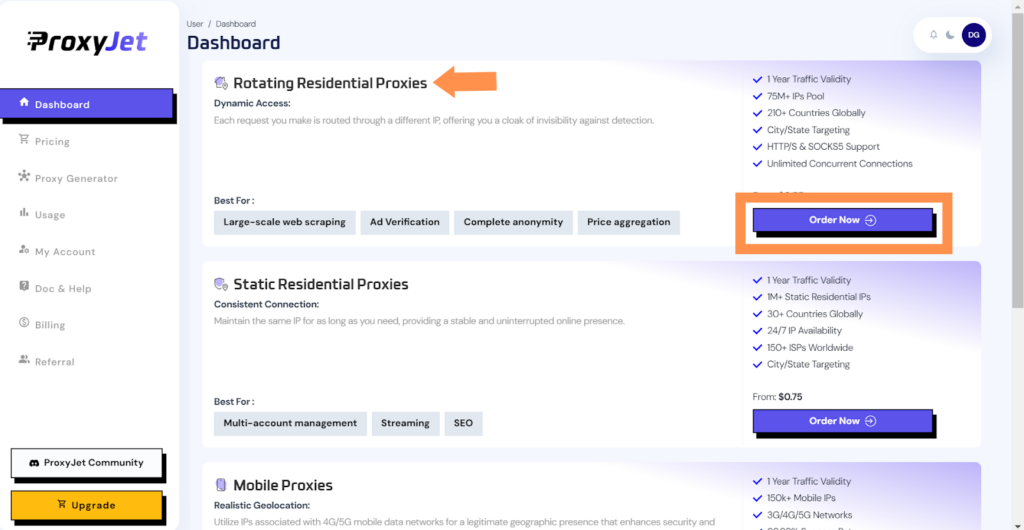
5. Pick Your Bandwidth: Select the bandwidth you need and click "Buy".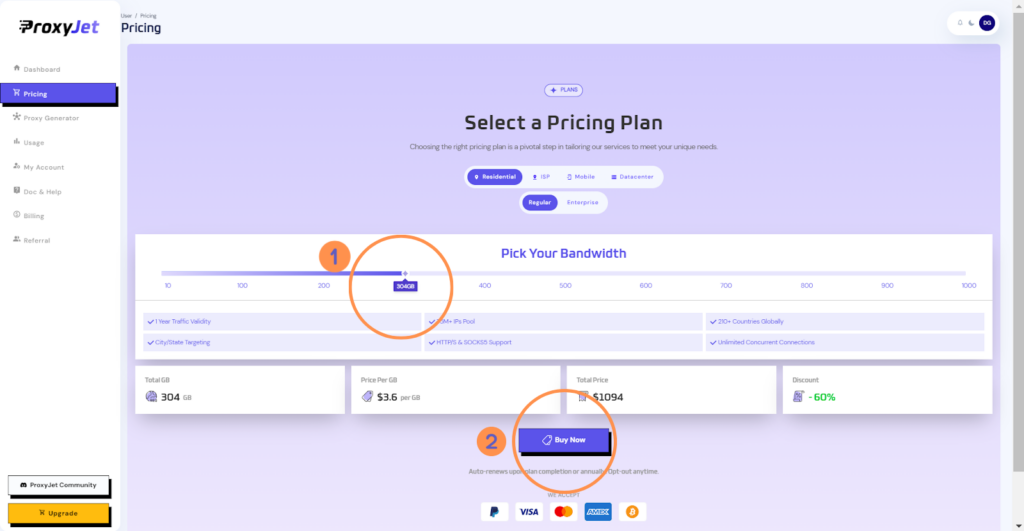
6. Complete the Payment: Proceed with the payment process.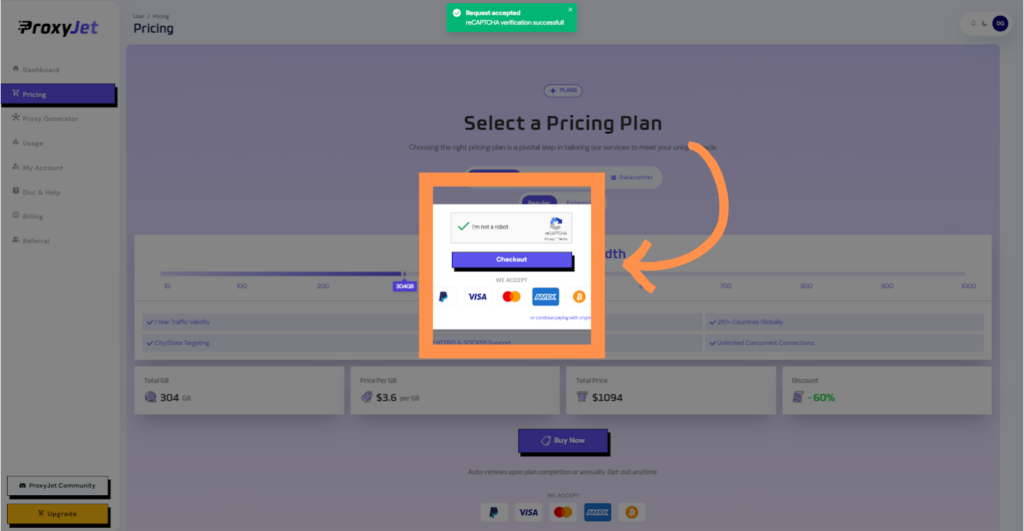
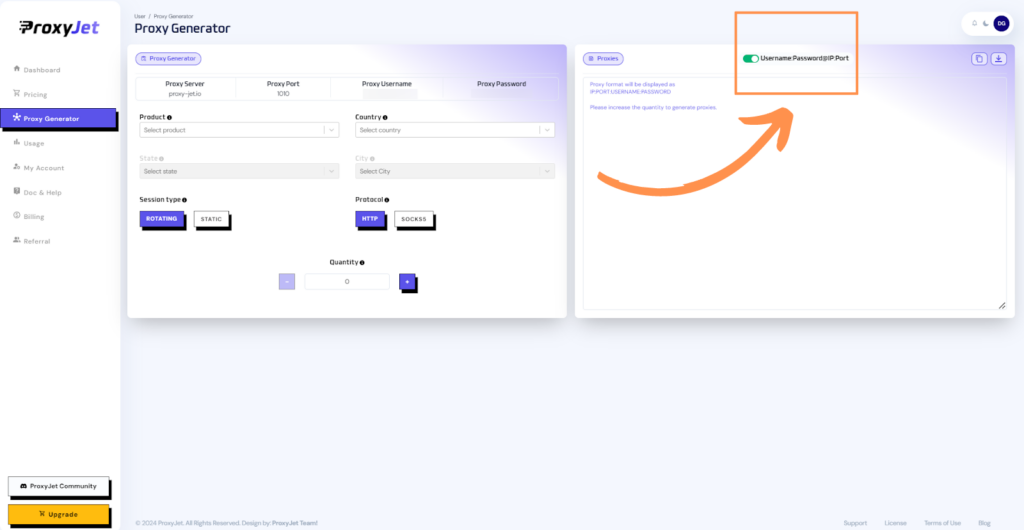
7. Access the Dashboard: After payment, you will be redirected to the main dashboard where you will see your active plan. Click on "Proxy Generator".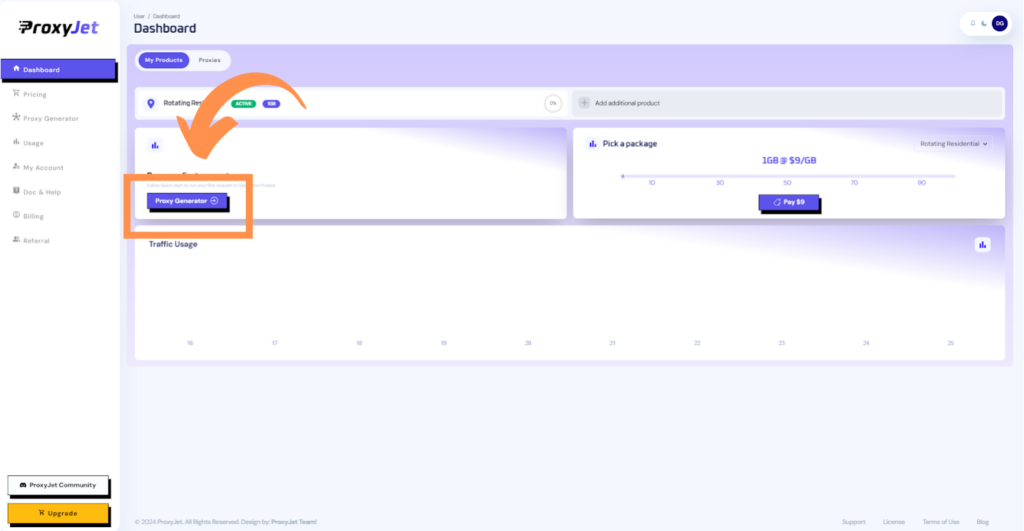
8. Switch Proxy Format: Click the toggle on the right top side of the screen that switches the proxy format to Username:Password@IP:Port.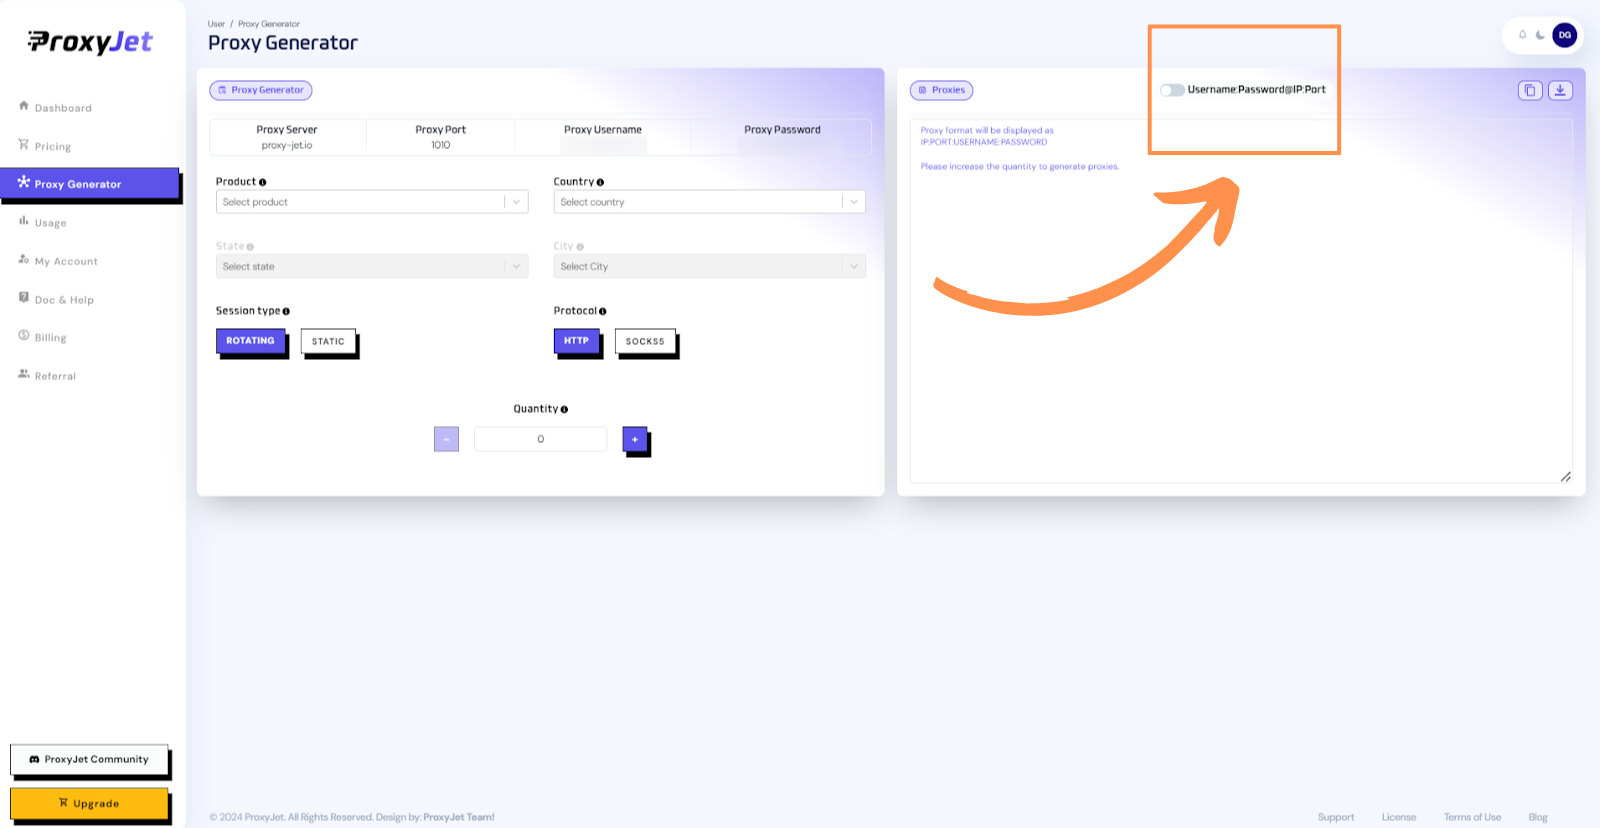
9. Generate Proxy String: Select the proxy properties you need and click on the "+" button to generate the proxy string. You will get a string that looks something like this:
10. Great Job!: You have successfully generated your proxy!
Setting Up ProxyJet Proxies in AdsPower
Step 1: Download and Install AdsPower
- Download AdsPower: Visit AdsPower and download the application.


- Install and Log In: Install the application and log in to your account.

Step 2: Create a New Profile
- Create New Profile: On the AdsPower dashboard, click on "New Profile".

- Profile Details: Enter a name for your new profile and select the preferred device type for your profile.
Step 3: Configure Proxy Settings
- Proxy Settings: In the profile creation window, click on the "Proxy" tab.
- Enter Proxy Details:
- Proxy Type: Select HTTP, HTTPS, or SOCKS5.

- Proxy Host: Enter proxy-jet.io.
- Proxy Port: Use 1010 for HTTP/HTTPS or 2020 for SOCKS5.
- Proxy User: Enter your username formatted as A1B2C3D4E5-resi_region-US_Arizona_Phoenix.
- Proxy Password: Enter your password.
3. Check Proxy: Click on "Check Proxy" to verify the connection. You should see a confirmation message if the connection is successful.
4. Save Profile: Click "OK" to save the new profile with the configured proxy.
Step 4: Launch Profile
- Start Profile: Save the settings and you can find the profile on your AdsPower Dashboard. Click Open to enjoy anonymous browsing

Conclusion
By following these steps, you can integrate ProxyJet proxies with AdsPower to enhance your online anonymity and manage multiple accounts efficiently. This integration ensures that your digital operations remain secure and private, leveraging the powerful capabilities of AdsPower combined with the high-quality proxies provided by ProxyJet.